What’s the Project? Need to know how to sew a zipper? (You can admit if you’re scared-they can be tricky!) They don’t have to be hard. This tutorial will walk you through all the basics of adding in a zipper when sewing.
It’s another week of the Learn to Sew series! Now we’ve reached the lesson where my mom might start to cringe. I’m going to teach you how to sew a zipper in. People seem to get really scared of zippers and I don’t feel like they are worth the fear. But, I am also not sure that I do it by the book (the reason for my mom’s cringing). But guess what? The way I do them works and takes only a few minutes and is not too hard.
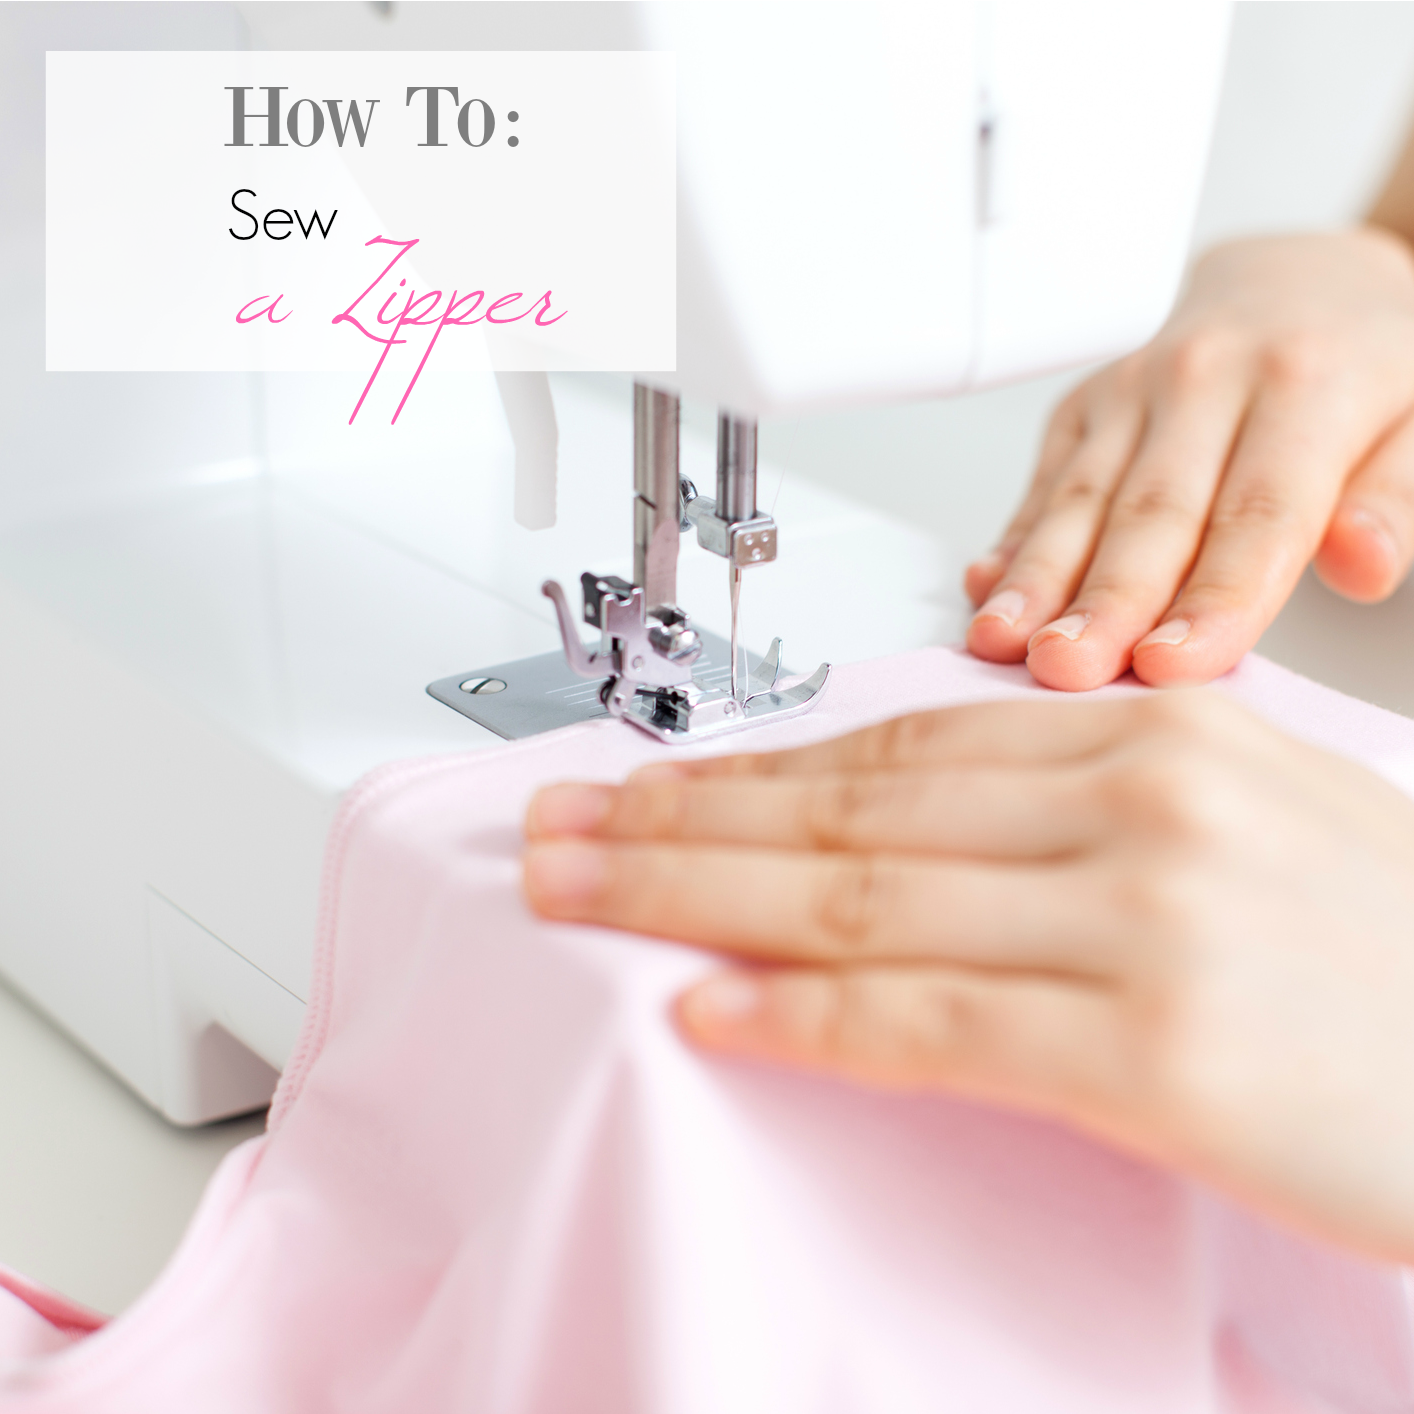
Learn to Sew: How to Sew a Zipper
You don’t have to be intimiated by how to sew a zipper! It’s not as hard as you think.
First of all, you need to buy a zipper. That’s pretty easy. There are different types. The kind I usually use is the Polyester but there are also metal and things. You are going to find them in the notions section of your store and they are going to be organized by color and length, so be sure to pay attention to what length of zipper you need. And generally, unless otherwise noted, get the polyester kind.
So, once you have your zipper, open it up. Now, on the inside, you are actually going to find instructions on how to insert a zipper. You will find 2 different ways. Centered or lapped application. What I am going to teach you today is a centered application. If you ever need to do lapped just remember that the instructions are there.
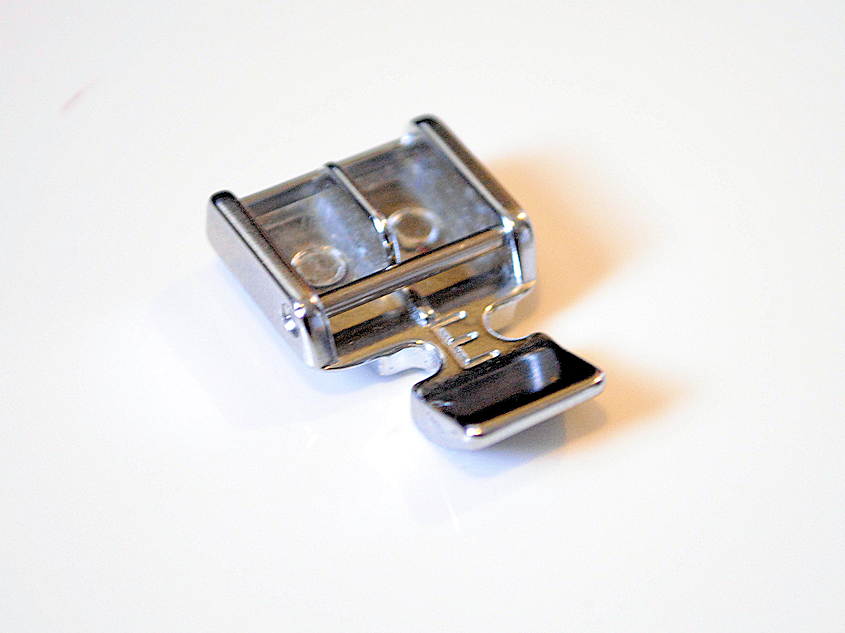
Next, find your zipper foot. It should look something like this:
Attach it to your machine. To do this, you are going to take off your presser foot (check your manual for how to do this on your machine, but it’s likely that there’s a little red button/spring on the back that you push and it pops off. Then you will put the zipper foot under there BUT you will need to either insert it to the left side or the right, NOT centered like a presser foot. See how it is on the right in this picture?
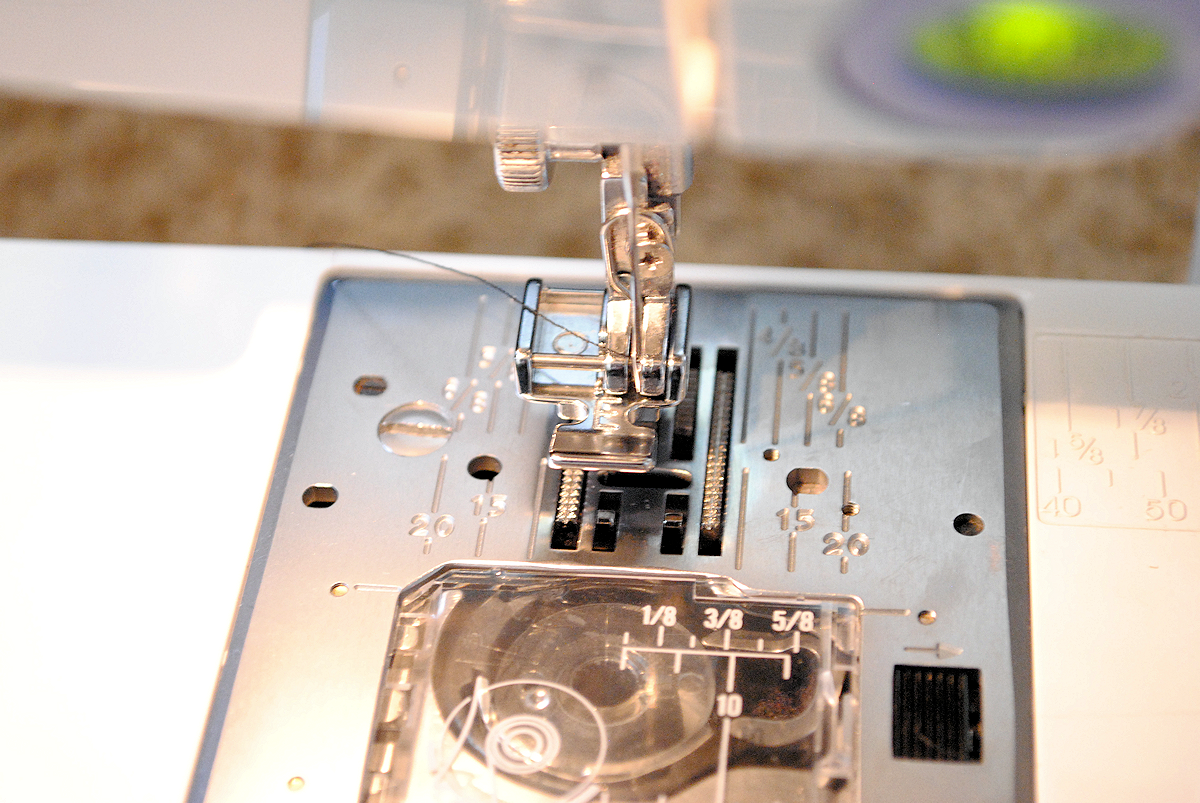
You’re going to want it so that the needle is on whichever side you are sewing on. So if the zipper is to the left of your needle, the zipper foot should be inserted on the left.
To sew in the zipper, the first thing you do is baste shut the area that you are going to be sewing. So, for the skirt that we will be making for this week’s project, you would be basting shut one of the side seams. You’ll want to baste just the part that the zipper will cover and use a regular stitch to sew the rest of the seam. To figure this out, lay your zipper where you need it to be eventually and mark the bottom with a pin:
Then move your zipper of the way and do you basting to where the pin is and your regular stitch for the rest.
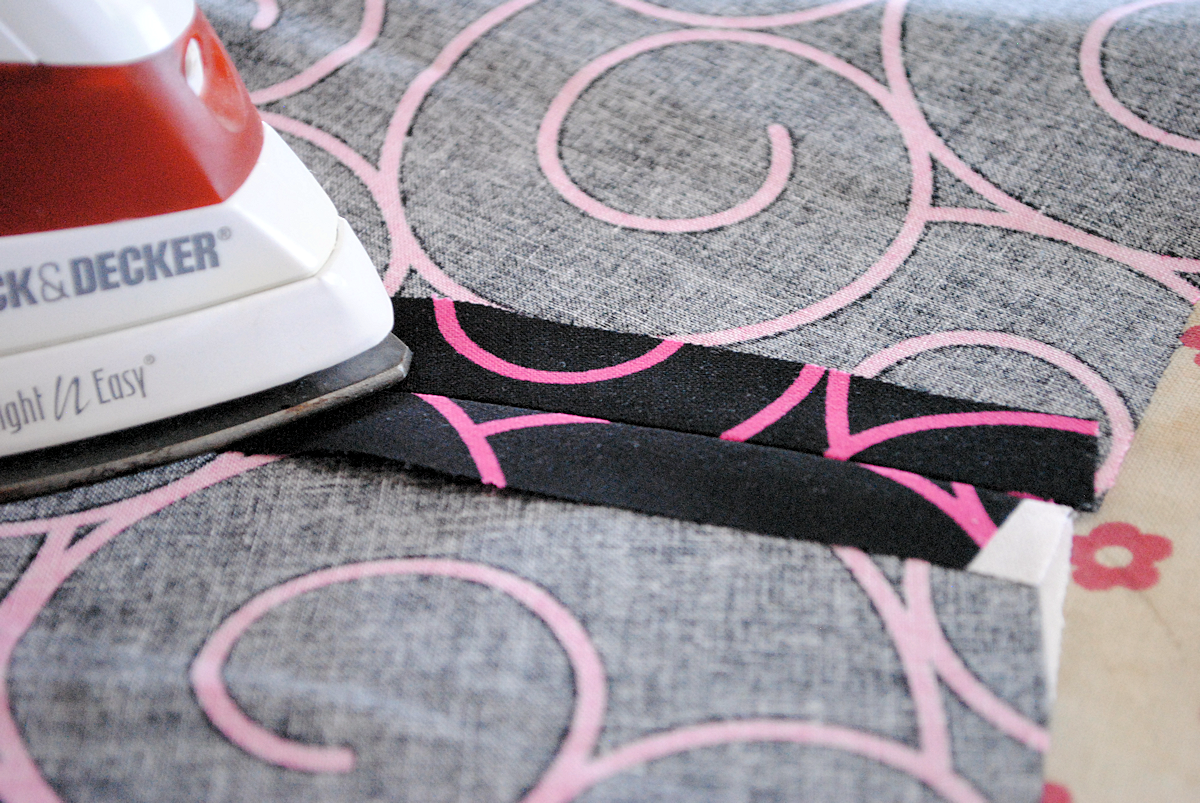
*Note, it is going to be much easier to sew the zipper in if you use a wide seam allowance for the seam we just talked about. I recommend at least a 1-inch seam while you are learning this skill.
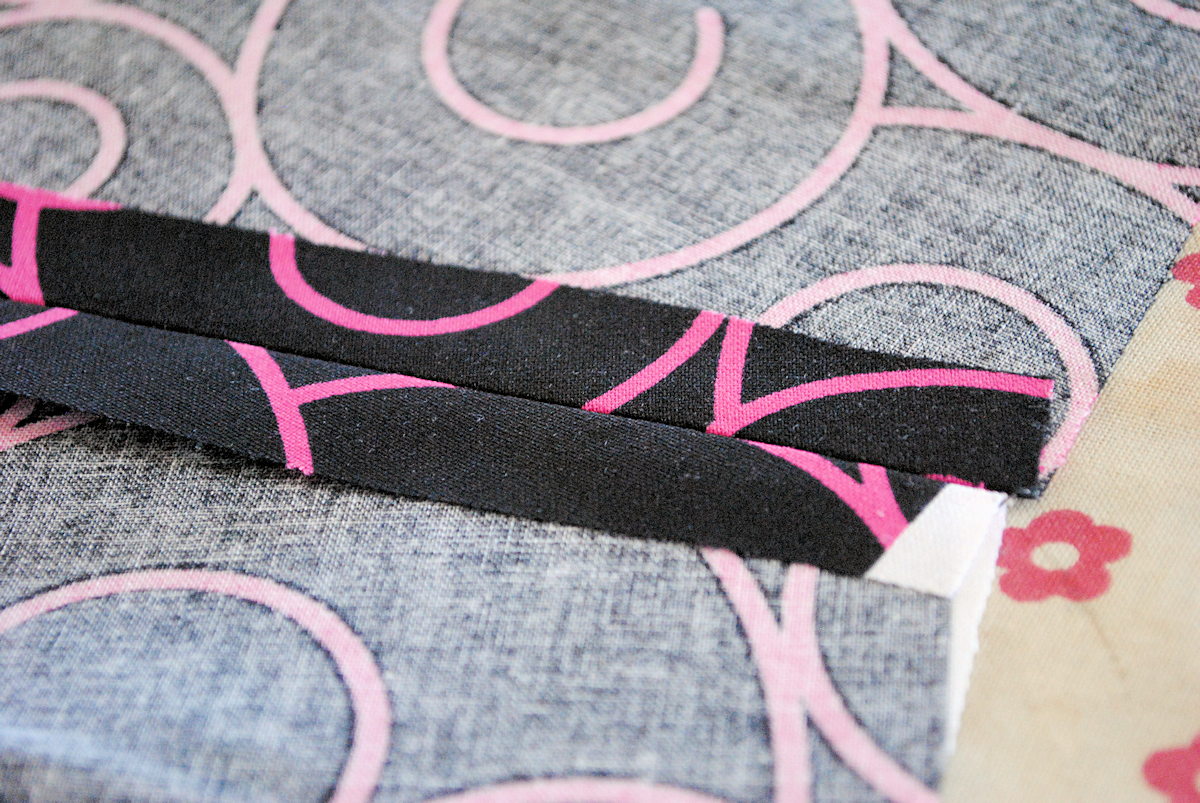
Now, press your seam open in the part that the zipper will be going:
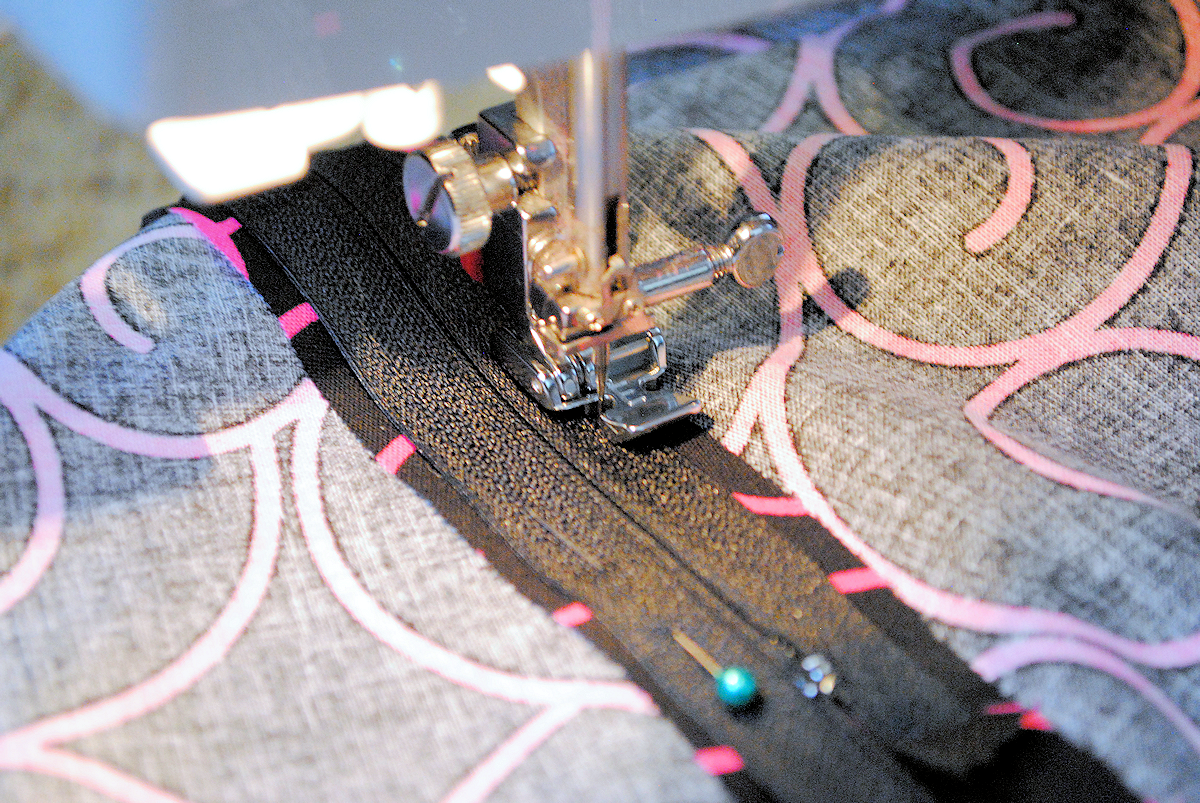
Place your zipper so that the center of the zipper lines up with your seam and pin it in place:
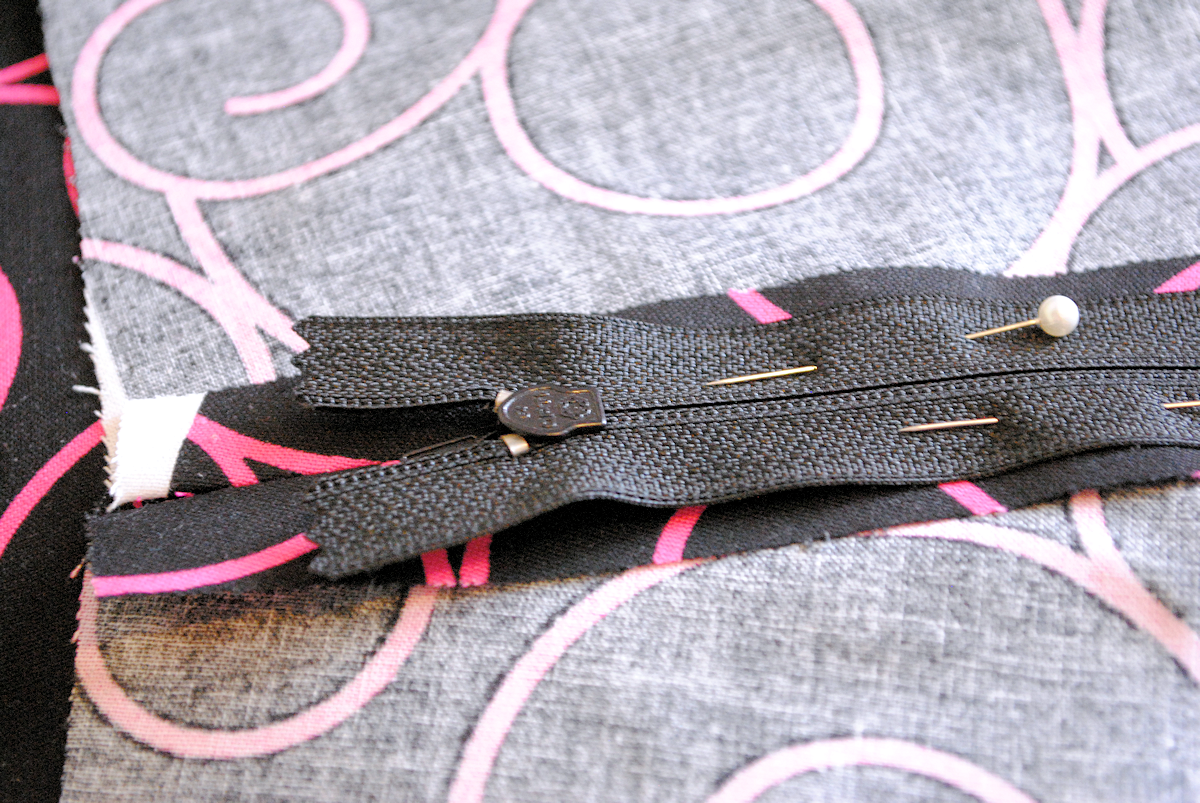
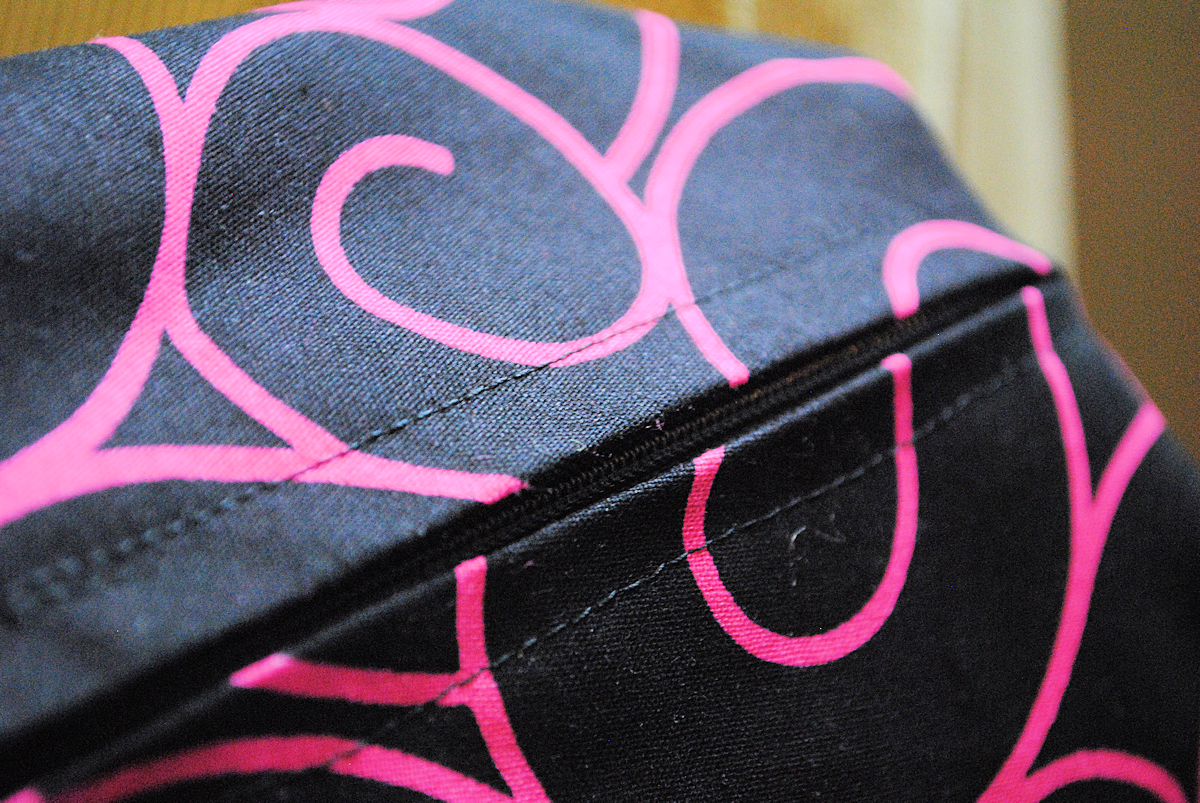
Now you will sew down one side of the zipper, across the bottom and up the other side, all the way to the top. Move your zipper foot to whatever side you need it on so that the needle is close to the zipper as you sew.
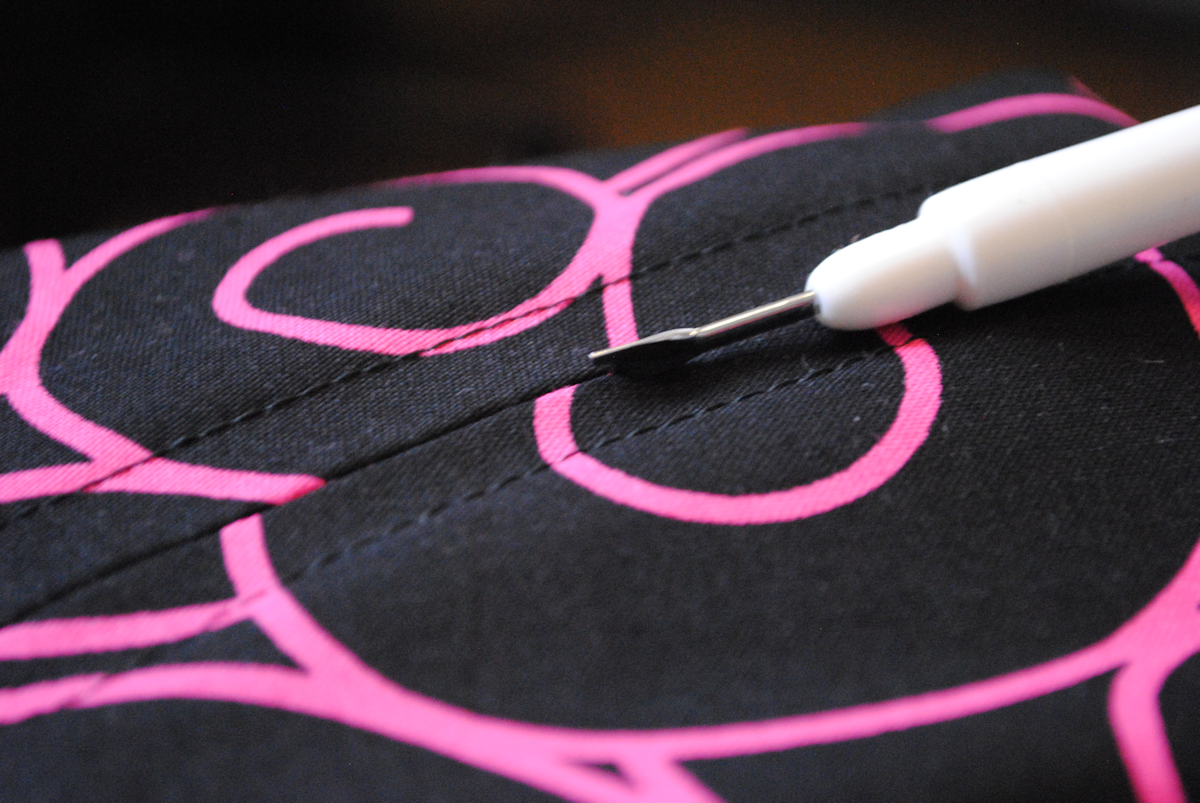
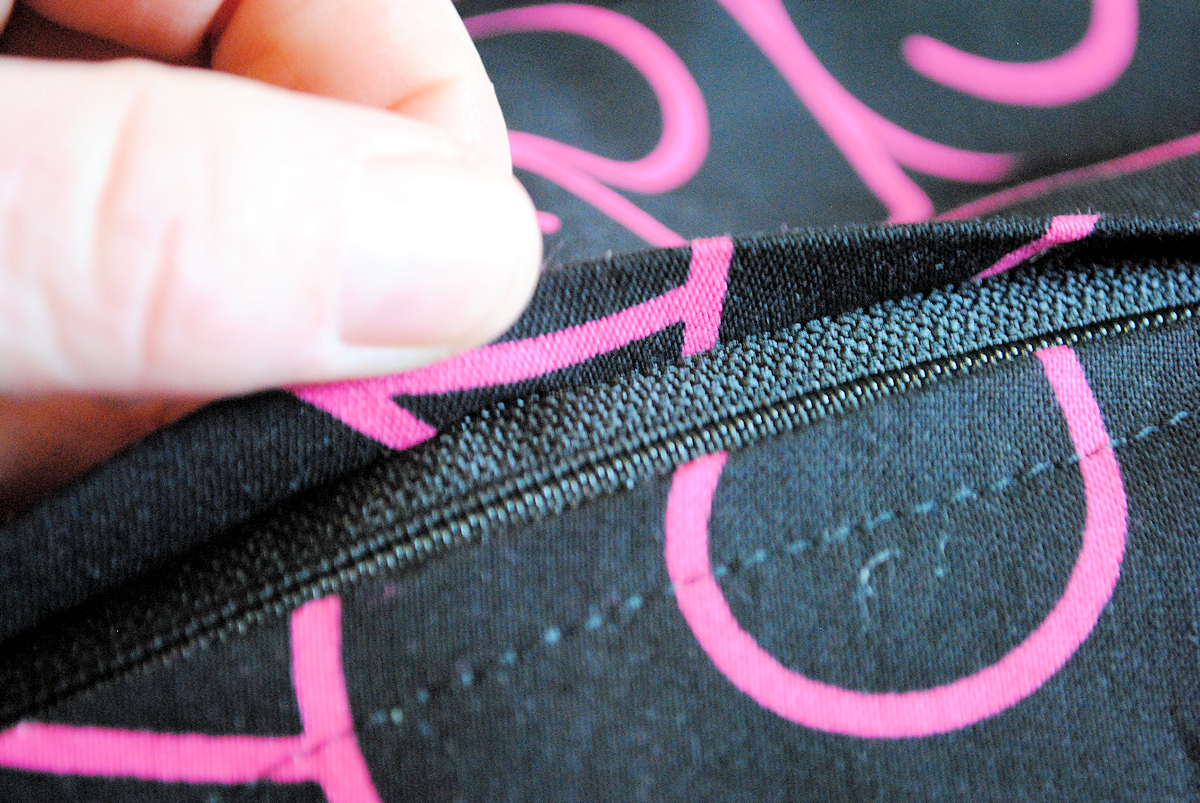
Now turn it over and use your seam ripper to remove your basting stitches:
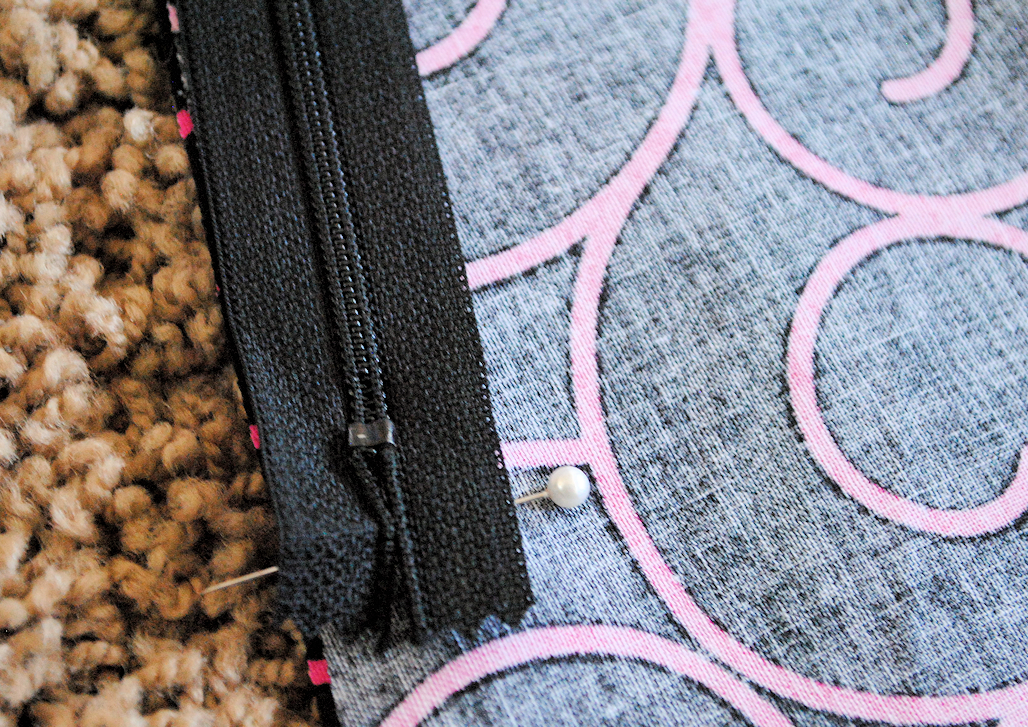
If you have done it correctly it should look like this:
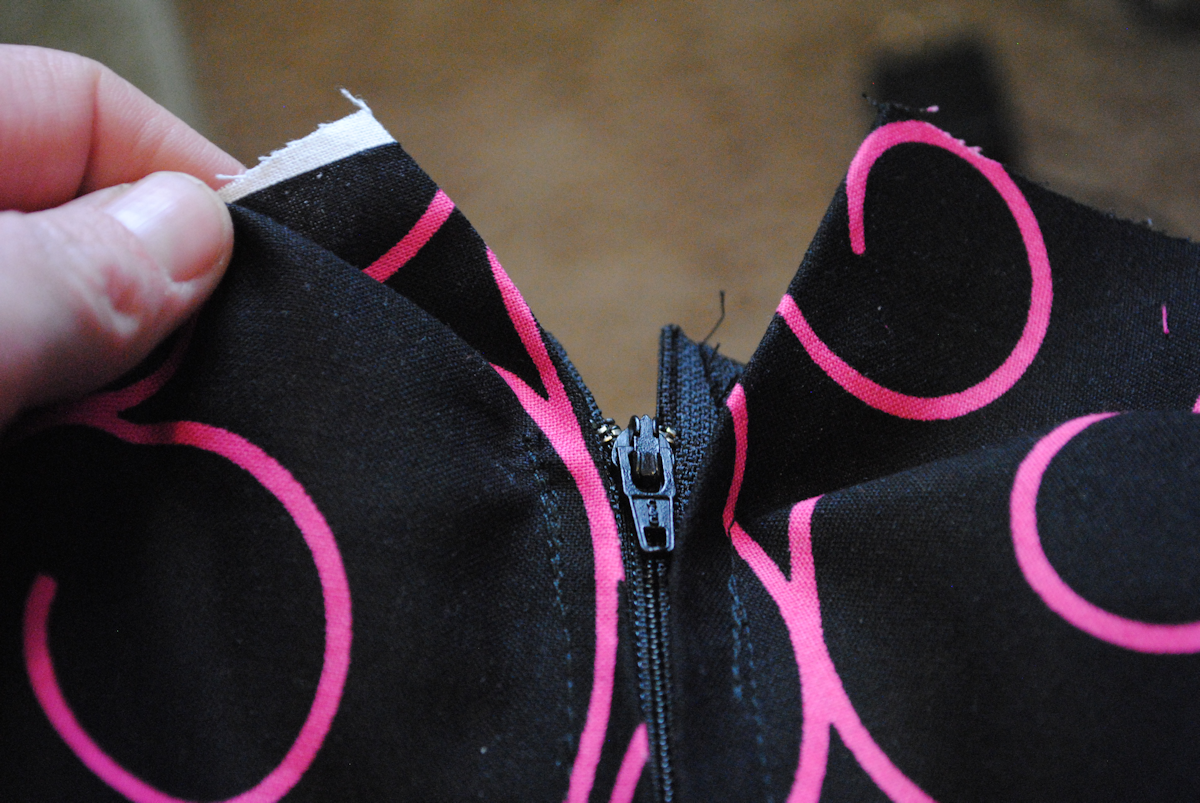
And when you pull it open like this you should see no raw edges showing:
In this case you can see that I left some space at the top to hem the fabric down to make the waistband for a skirt I was sewing.
And that’s it. That’s how to sew a zipper. Now, be patient with yourself. Zippers are a more advanced skill than anything I have taught you before. If you have to rip the zipper our and try again a few times…that’s normal. Just keep practicing but don’t be intimidated and don’t give up!
Your Assignment:
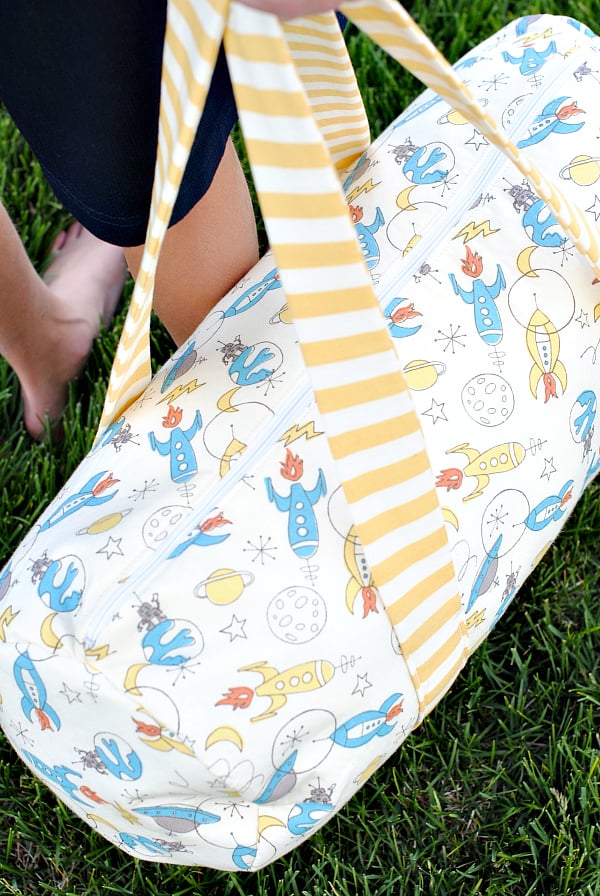
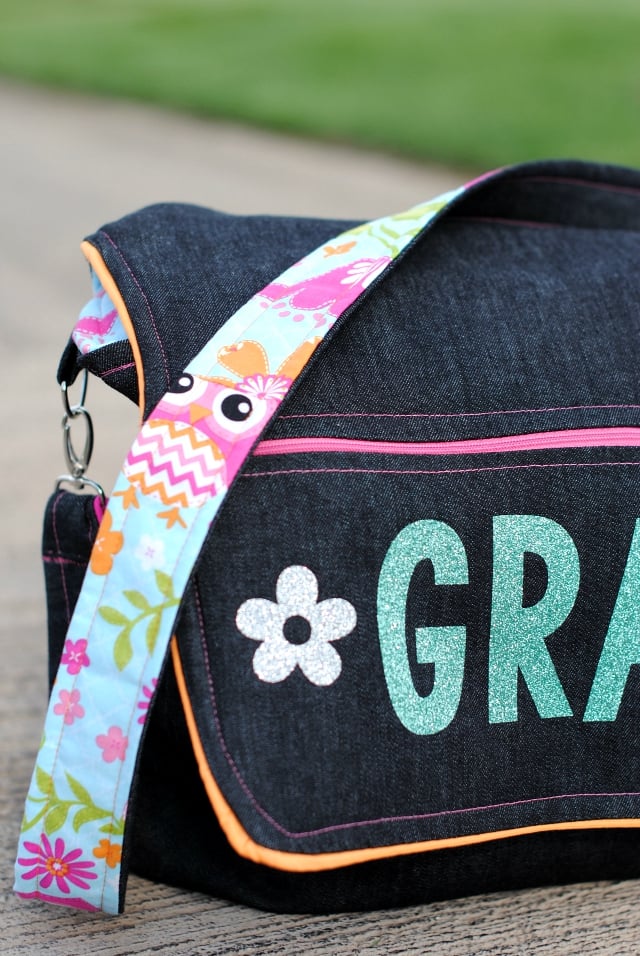
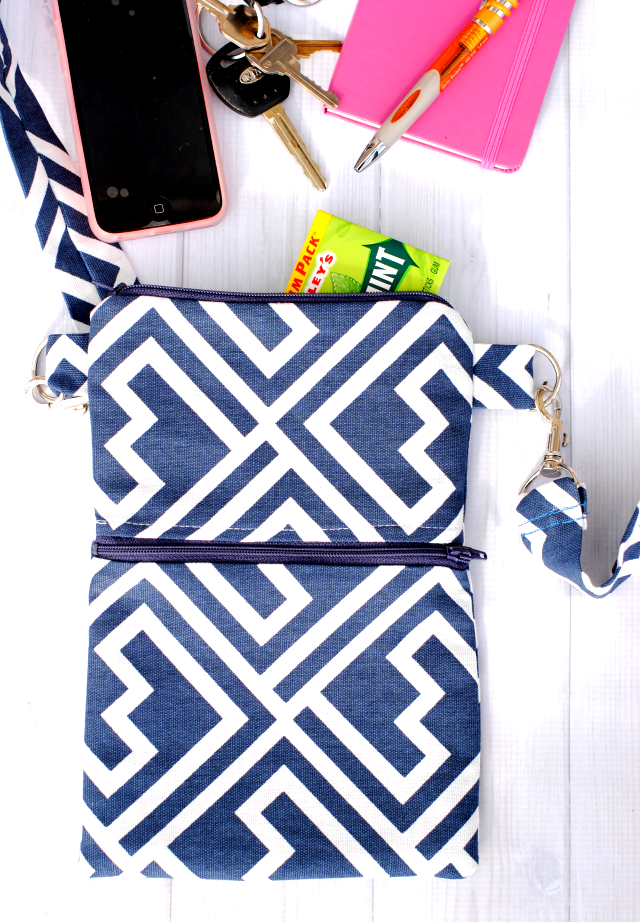
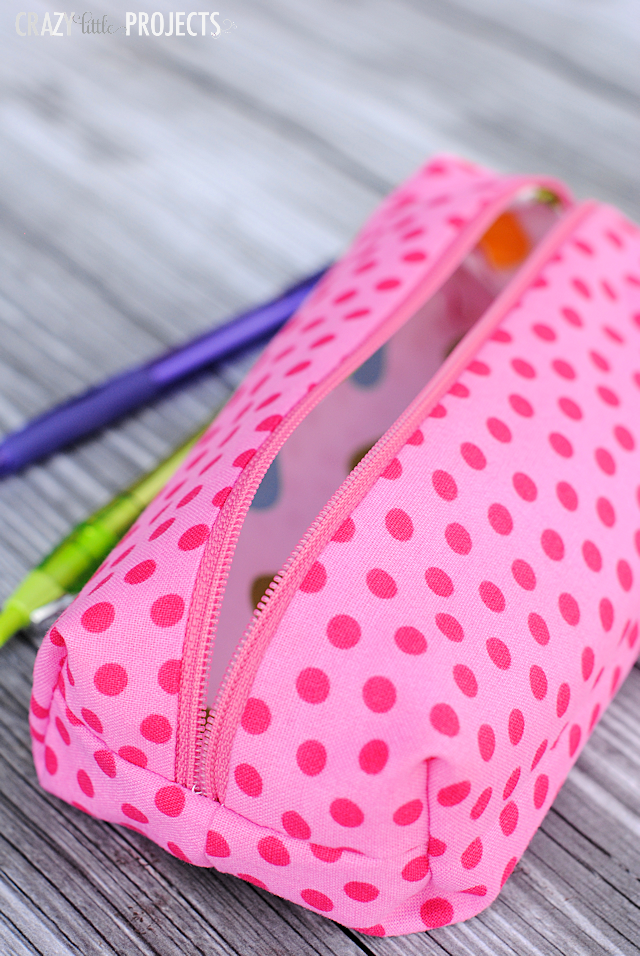
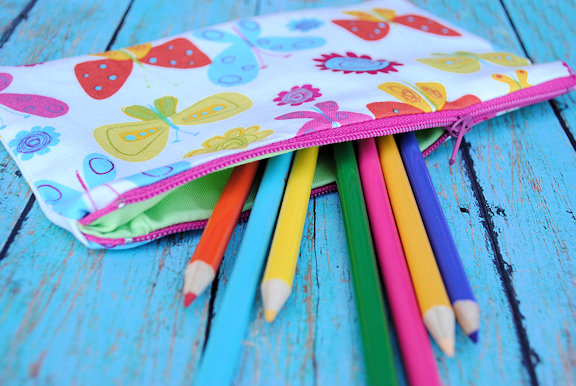
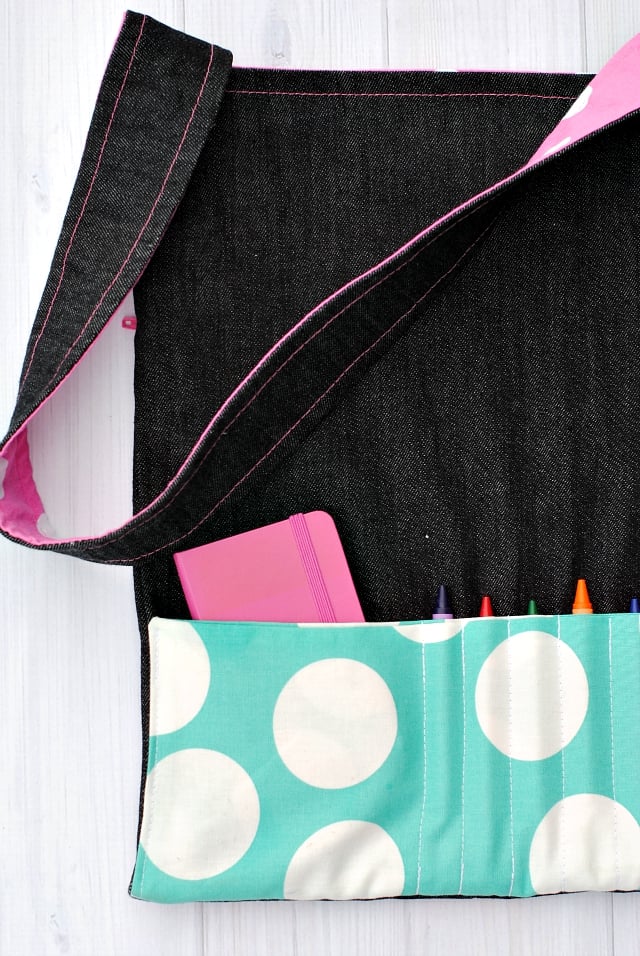
- Sew something with a zipper! Note that some of the projects I am showing you below will use different techniques to sew zippers. Some are easier than others. But just sew something with a zipper this week!
Then head to the final lesson, Lesson #7: How to Sew a Buttonhole
Beginner:
Moderate:

Advanced: