
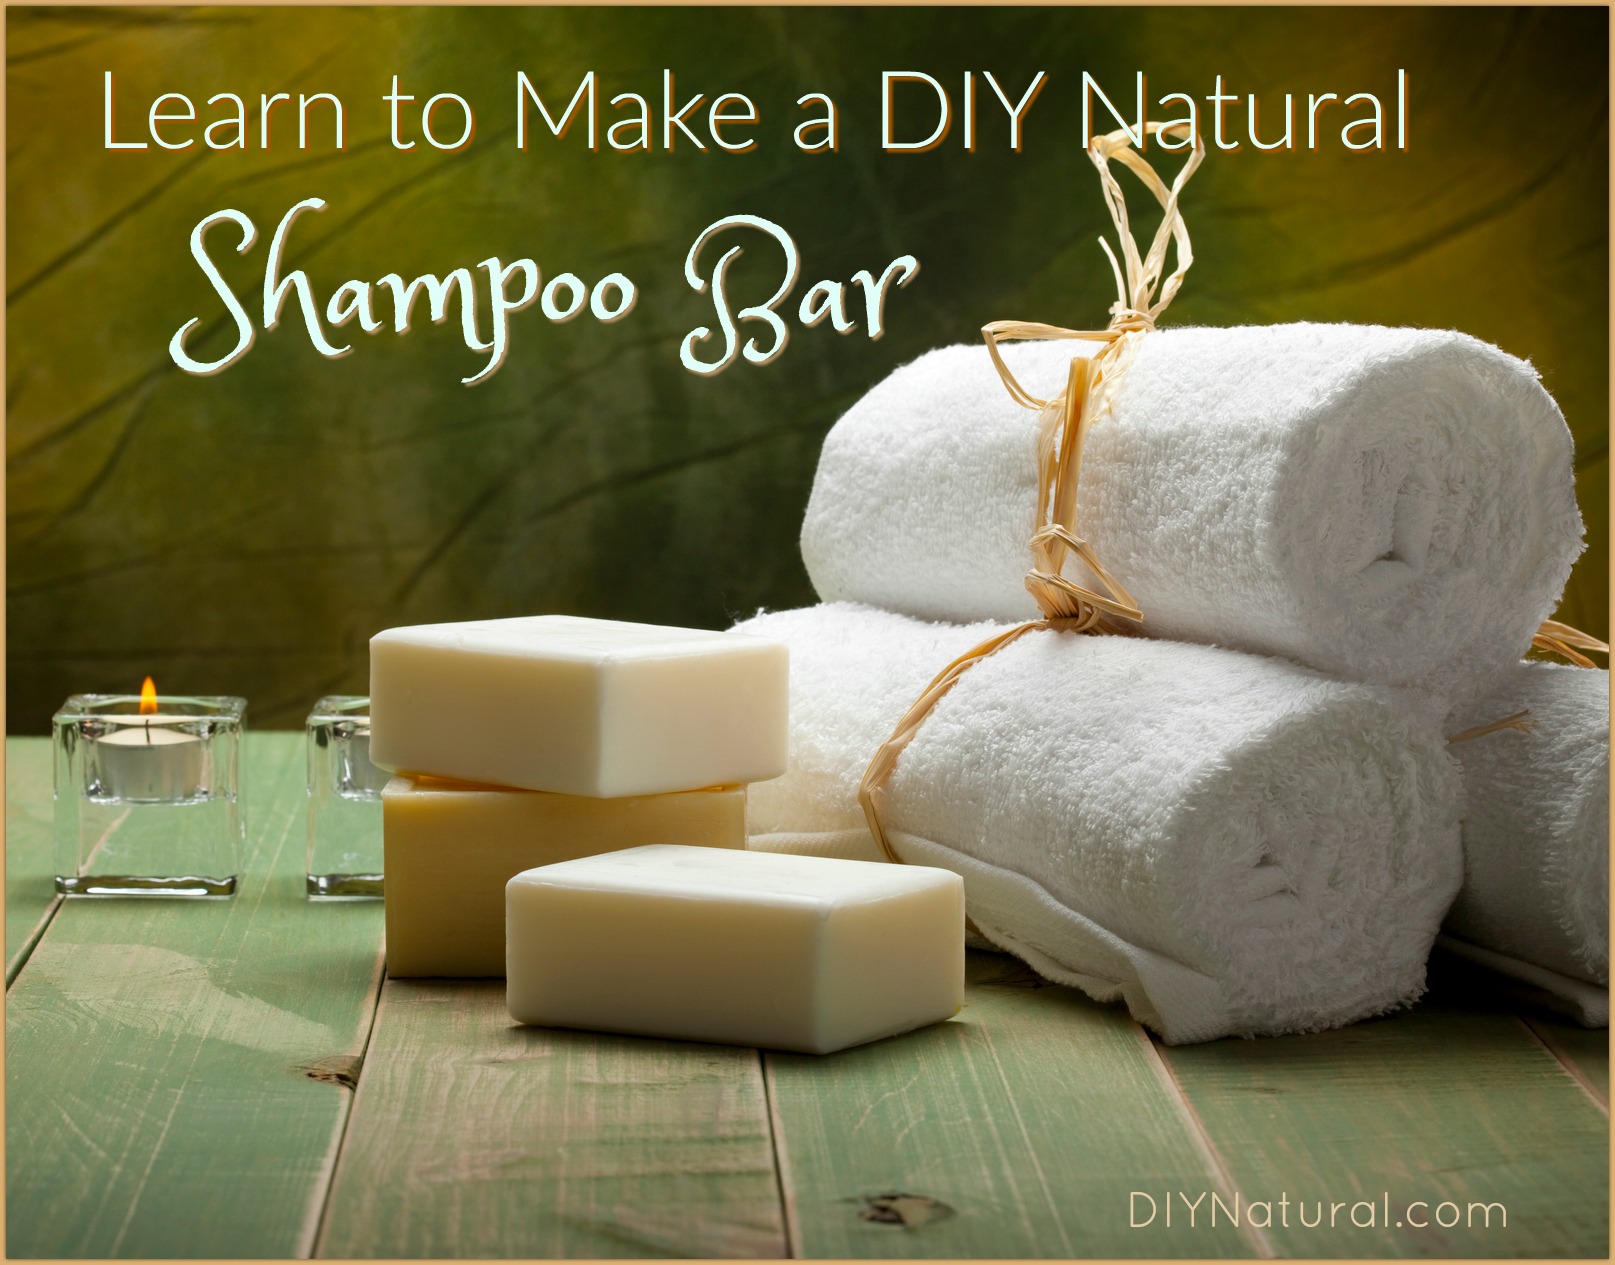
I created this homemade DIY shampoo bar because I get a lot of requests for a solid shampoo bar. This simple recipe will leave your hair soft and shiny!
I’m a soap maker, so people ask me to make all kinds of soap. Lately, I’ve been getting requests for a solid homemade shampoo bar. I have a great recipe that will leave your hair soft and shiny.
Why Use a Solid DIY Shampoo Bar?
There are many reasons someone might want a solid bar as opposed to liquid shampoo.
Solid bars are great for traveling because you don’t have to worry about them spilling in a bag. These bars can also help you save money and take up less space in the shower. Some people like a solid bar for easier handling; shampoo bottles can get slippery and can be heavy for people with weakness in their hands. Furthermore, I love them because I can add exactly what I want to the bar and leave out anything I don’t want. They’re gentle on hair and perfectly customizable!
Basic Soap Making
If you haven’t made soap before, or read my article on basic soap making, you’ll want to familiarize yourself by reading this first: Homemade All Natural Soap. We simplified the process by converting this recipe from weights to measurements. We tested and perfected the measurements.
This method has been used with much success and can be doubled or tripled easily. The oils are the ingredients that change the most with a homemade shampoo bar.
Choosing Oils for Hair
There are some great oils for adding softness and luster to hair. These oils are suitable for all hair types (even colored hair):
- Sweet Almond Oil
- Avocado Oil
- Macadamia Nut Oil
- Castor Oil*
- Palm Oil (see this article on sustainable palm oil)
- Wheat Germ Oil
- Grapeseed Oil
- Rice Bran Oil
Considerations When Choosing Oils
There are many other oils available to make soap, but you’ll want to stay very close to the same SAP value. Consult an SAP chart to be sure the oil you use is within the same range.
*Castor oil is excellent for hair but is a bit low on the scale. If you decide to use it, you’ll want to decrease the amount of lye by about a teaspoon. This will even out the proportion, otherwise you would end up with a hard crumbly bar due to excess lye.
Homemade DIY Shampoo Bar (Cold Process)
First, to familiarize yourself with soap making, read this how to make soap article. Wear protective gloves and goggles and cover all work surfaces. Use caution when mixing the lye and water as the fumes can cause a choking sensation in your throat. This will diminish after a minute or so.
Ingredients
- ⅔ cup olive oil
- ⅔ cup coconut oil
- ¾ cup cool distilled water
- ⅔ cup other oil (see list above)
- ¼ cup lye – also called 100% sodium hydroxide (find it here)
- 2 tablespoons essential oils, optional (find pure essential oils here)
Process
Have everything laid out and ready to go before beginning this project. You’ll need to be prepared to move quickly for some of the steps.
Step 1
Cover your work area with newspaper. Put your gloves and goggles on. Mix oils in a large glass or stainless steel bowl. If any oils are solid, melt them prior to measuring.
Step 2
Measure water into a glass or stainless steel container. (Be sure to use a heatproof container when mixing, as the exothermic reaction when lye is added can cause heat around 200°F.) Measure your lye, making sure you have an exact ¼ cup. Have a spoon ready. Stirring as you pour, slowly pour the lye into the water, NEVER the other way around. Continue stirring until the mixture begins turning clear. Stand back while you stir to avoid the fumes. Allow the lye/water mixture to cool to about 125°F.
Step 3
When the oil mixture is at 75°F and your lye/water mixture is around 125°F, slowly pour the lye into the oils and stir. For the next 5 minutes, stir by hand. This will allow as many of the oil molecules to come in contact with as much of the lye as possible. After 5 minutes, use a stick blender (like this) to mix, being careful not to introduce air. Blend until the mixture is thick like vanilla pudding; this is called “trace.” (Watch this video to see what trace looks like.)
Step 4
When you have achieved trace, you can add a tablespoon of another oil. This could be grapeseed, castor oil, or any of the other oils listed in the oil section above. This extra oil will add extra moisture to your homemade shampoo bar and the oil will not be used by the lye, thus allowing it to add extra conditioning for your hair. You can also add optional essential oils at this point. Stir thoroughly to combine.
Step 5
Pour the soap mixture into molds and cover with plastic wrap. (These silicone molds are the perfect shape.) After 24 hours, turn it out onto a piece of parchment paper or baking rack. Leave in a dry place and turn once a week or so (which is not necessary if using a baking rack). Your homemade shampoo bars can be used after curing for 4 weeks. The bars will be milder the longer they are allowed to cure. A month-long wait is well worth the end product!
DIY Shampoo Bar Video
How to Use a Solid DIY Shampoo Bar
Thoroughly wet hair. Rub shampoo bar from scalp to ends, covering each section of hair, OR rub between hands to create a nice, foamy lather. Work shampoo into your hair, gently massaging the scalp and working through to ends. Rinse thoroughly and follow with your normal conditioner or one of the following rinses:
A Few Notes
- Remember to be very careful using lye. It can cause burns if not handled correctly. Keep some white vinegar handy in case of spills.
- For this soap, I wouldn’t add dried herbs. They can get stuck in your hair and be difficult to remove.
- This soap can also be made in a large mold. Cut it into bars after the first 24 hours when you remove it from the mold. They will be too hard to cut if you wait too long.
- Using one of the conditioning rinses listed above will help restore hair to a healthy pH level, add shine, and prevent buildup.
- Love the idea of natural hair care, but don’t want to make your own? Here is a line of hair care products DIY Natural has tested and LOVES.
Have you ever created a homemade DIY shampoo bar? Let us know about your experience!